There have been so many times on our Best Life adventure when I could, or should, have stopped the car, leapt out and set up my GoPro to film a stunning time-lapse video. But if I’d taken every opportunity to capture the sunrises, cloudscapes, market places and traffic chaos that are part of every day life around the world, we’d still be on the road out of Singapore!
Time-lapse sequences add a breath-taking, professional touch to any travel video and are a great way to set the scene, establish the environment or show the passage of time between events.
They’re quickly taking over the world of travel videos by compressing hours of footage into a few seconds of visual narrative that speak right to heart of voyeuristic creatives. With a little bit of imaginative thinking and a dash of planning, creating an epic video isn’t that difficult especially if your gadgetry-arsenal includes one of the latest GoPro’s.
Easy to setup, they have the ability to shoot sequences in a number of ways and when the results are edited can turn a few random clips into works of art that are beautiful to watch.
Here’s my Ultimate Guide to GoPro time-lapse…
DIFFERENT WAYS TO CREATE A TIME-LAPSE
When you’re creating a time-lapse video there are two different processes. The first is by taking a series of photos at selected intervals then placing them into a sequence one after another to create a video. The other is by shooting standard video. Both have their benefits and drawbacks.
1. TIME-LAPSE PHOTO SEQUENCE – the most common way of creating a time-lapse. Set the shutter timer interval in line with what you’re shooting and let your GoPro fire away. Once it’s done, take the results, put them into GoPro Studio and let it do the hard work for you!
Benefits
- Compared to the other methods, a smaller memory card storage capacity is required meaning longer time-lapse sequences are possible. Good for many hours or even days of recording
- Battery life is also conserved compared to the other methods
- The high resolution of each photo (12MP) allows panning or zoom effects to be added in post-production, retaining a much higher quality than with standard video
- The Hero4 Silver and Black cameras have Night Photo mode, allowing you to set the exposure time anywhere from 2 up to 30 seconds for fully customised photos. Night Lapse mode allows you to set both your exposure and interval times to create the perfect night-time time-lapse sequence (see bottom of this post for more info)
Drawbacks
- The final video can appear jumpy and jittery if too few images are used, so ensure the correct interval timing is chosen
- More complex process to create a video sequence from the photos than standard video
2. INCREASE THE SPEED OF STANDARD VIDEO – set your GoPro to record video as you would normally (my most commonly used setting is 1080p). Then import the video into your post-production program, and increase the speed until you have the desired effect.
Benefits
- Seamless time-lapse video
Drawbacks
- Huge amounts of data are required to create any time-lapse over 10 minutes long (a 10 minute movie creates a file of around 2Gb when filming at 1080p on wide setting at 25fps). Handling these files means you’ll need a fast processor or you’ll waste hours watching your screen whilst your machine whirs away
3. 4K VIDEO TIME-LAPSE – the new and seriously awesome way of creating seamless, high quality time-lapse sequences. Select this setting, choose your interval and the camera will capture everything in glorious 4K – the highest resolution available offering twice the resolution of HD. It’s currently only available on the Hero4 Silver and Black
When you’ve finished filming your GoPro automatically creates a compressed MP4 file (that’s much smaller than you expect from a similar length 4K video) at 30 FPS and you don’t have to do any of the hard work creating a photo sequence. This is now my go-to setting!
Benefits
- Produces an incredibly high resolution time-lapse video that’s perfect for adding panning or zoom effects to in post-production with no loss of detail
- The time shown on the LCD screen on your GoPro reflects the number of seconds of captured video footage, not the elapsed time as it does with other video modes. It’s a really useful feature that means you don’t have to work it out for yourself
- The MPEG file that’s created is ready to use and small enough to handle
Drawbacks
- It’ll drain your battery at the same speed as shooting a 4K video – i.e. quickly. Consider using an extended battery or USB power source if you’re likely to be shooting for over an hour, as the standard battery won’t last long!
NOW YOU’VE CHOSEN THE BEST WAY TO CAPTURE YOUR TIME-LAPSE VIDEO IT’S TIME TO PUT THIS THEORY INTO PRACTICE.

GATHER YOUR GEAR
- One fully charged GoPro with formatted memory card
- Extra batteries or an external power source (if on a long shoot)
- One tripod/beanbag/level surface
- One iPhone/smartphone with the GoPro App installed or a GoPro with a preview screen, if not it’ll take a little guesswork!
- One incredible location
GET SETUP AND READY
- Choose your location carefully and think about how the transition of time will change what your GoPro sees
- Get up high. Looking down on a scene captures a much wider field of vision, so if you can shoot a scene from the first floor of a building or even higher, it will look more impressive than at street level
- Make sure the centre of your shot is where most of the action takes place and things are constantly moving. It looks great when boats move around on their moorings, cars whizz through your shot or waves crash on the shore. It’s uber-boring when one person every minute walks through your shot!
- Ensure your GoPro is level and everything is in shot. There’s nothing worse than finding out it’s lopsided once you’re back in the comfort of your edit suite. Use a tripod with a built-in spirit level, line your shot up using the preview screen on the Hero4 Silver, or even better preview it on the GoPro App

THINK ABOUT YOUR LIGHT AND SUBJECT
- If you’re capturing a landscape then choose a day with lots of broken cloud or even a storm rolling by. The footage will look fantastic when sped up as the clouds twist, form and disappear. Blue skies might look good in a single photo but are really boring in a time-lapse sequence!
- Experiment by shooting scenes on the banks of a river, at the entrance to a marina, a pedestrian crossing, busy road junctions, airports, or anywhere where there’s lots of activity. Having people, boats, cars or planes pass through your shot looks amazing when sped up
- The golden hour of sunlight at the start and end of the day looks even better when used in a time-lapse sequence. Seek out tall buildings that reflect the light well and cast long shadows
KNOW YOUR SETTINGS
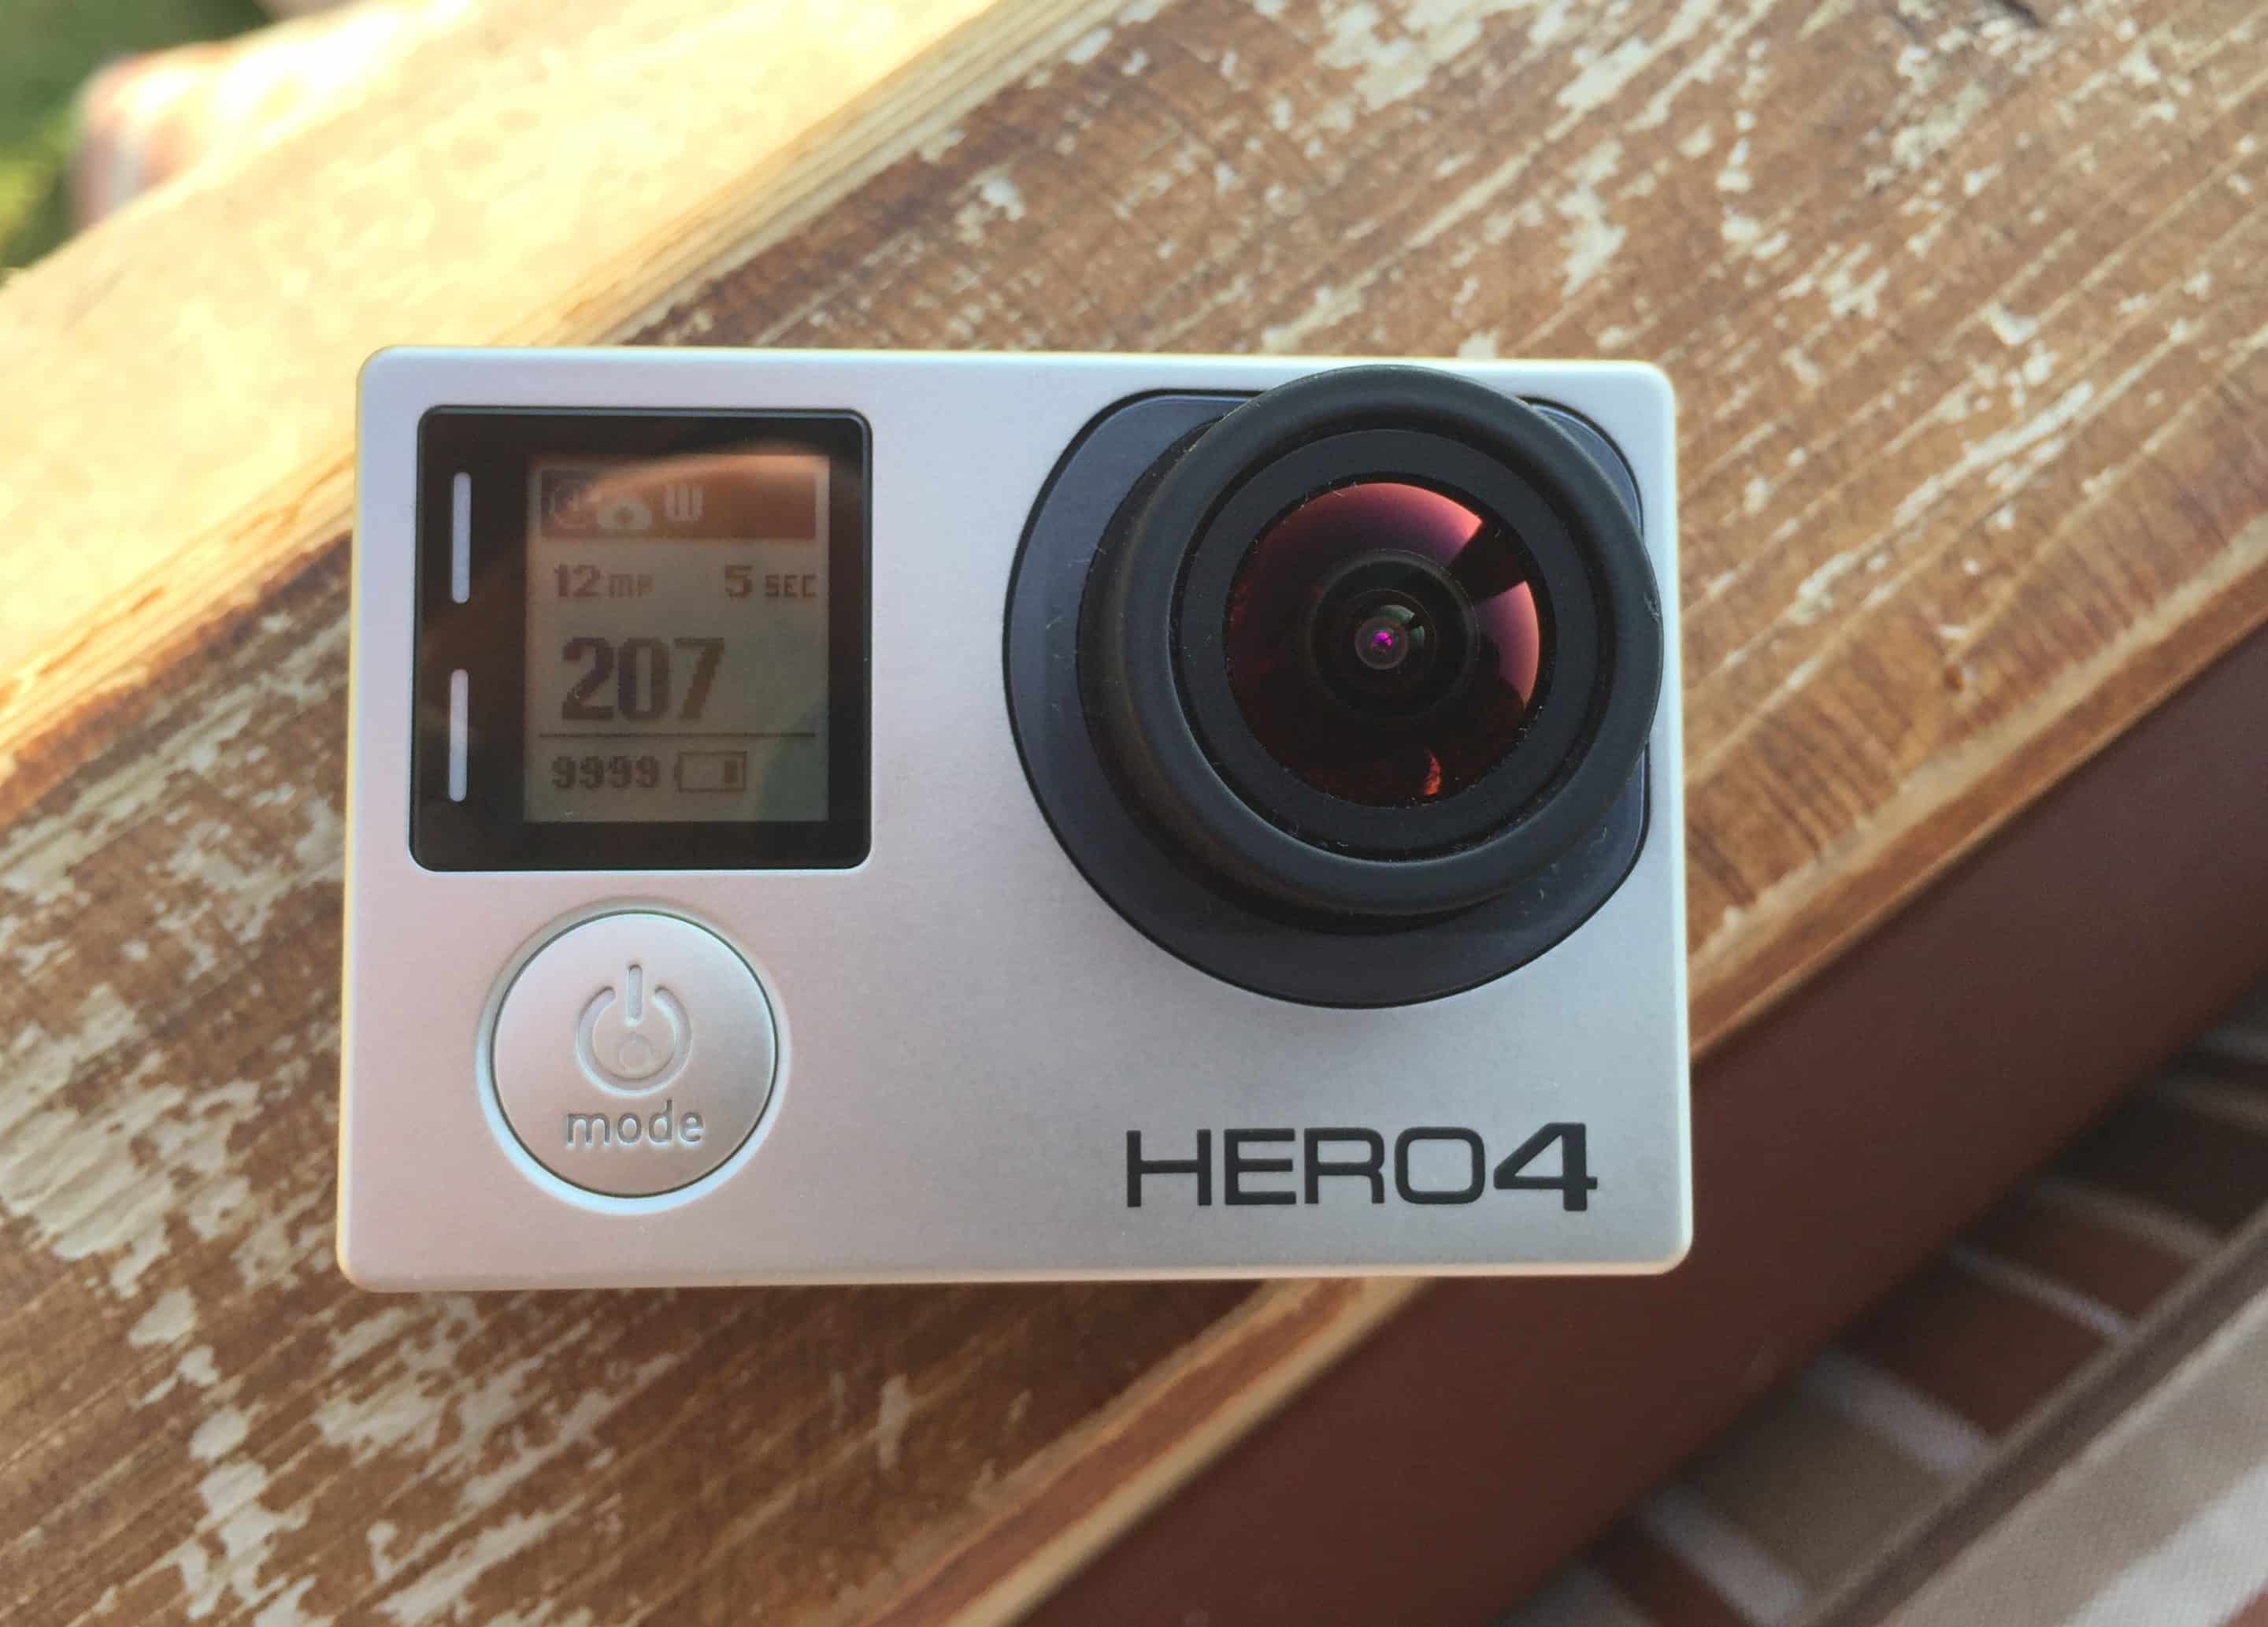
PHOTO METHOD – decided you want to use photos for your time-lapse? Here’s how to go about it. Below are some common subjects and the suggested intervals to capture them perfectly:
- 0.5 seconds – Driving time-lapse, creepy crawlies, surfer on a wave, any sports
- 1 second – analogue clock face, baking cookies
- 2 seconds – fast moving clouds, crowds of people, rush hour traffic, people walking along the street
- 5 seconds – clouds moving normally, sunrise or sunset
- 10 seconds – slow moving clouds, sunrise, sunset, waves on the beach
- 30 seconds – path of the sun on a clear day, moving shadows, night landscapes, stars and the moon
- 60 seconds – moving plants and trees, construction site over a day
Work out how long you want your time-lapse sequence to last for and how many photos you’ll need to make it happen. For example 250 photos are required to create a 10 second long sequence that runs at 25fps (frames per second), which is the industry standard.
- Turn on your GoPro Hero4 Silver or Black
- Select ‘Multi Shot’ using the front button or via your GoPro App
- Press the ‘Settings’ button on the side of your GoPro or via your GoPro App
- Fine-tune the various settings including interval time, image size and resolution, focus point and toggle ProTune. I use the full 12MP resolution at all times
- Once everything is set up it’s time to frame up your shot and press the top button to start shooting
VIDEO METHOD – prefer to roll standard video and speed it up later in post-production?
- Turn on your GoPro Hero4 Silver or Black
- Select ‘Video’ using the front button or via your GoPro App
- Press the ‘Settings’ button on the side of your GoPro or via your GoPro App
- Fine-tune the various settings including resolution, frame rate, field of view (FOV) light conditions, focus point and toggle ProTune (I use 1080p, wide as my go-to setting)
- Once everything is set up it’s time to frame up your shot and press the top button to start recording
4K TIME-LAPSE VIDEO METHOD – here’s how to use (what I believe) is the best option available:
- Turn on your GoPro Hero4 Silver or Black
- Select ‘Video’ using the front button or via your GoPro App
- Press the ‘Settings’ button on the side of your GoPro or via your GoPro App
- Select ‘T Lapse Vid’ from the top of the menu
- Fine-tune the various settings including interval time and image size (4K or 2.7K 4:3)
- Once everything is set up it’s time to frame up your shot and press the top button to start shooting
TRANSFORM YOUR PHOTOS INTO A MOVIE
With loads of options out there for video editing software it’s difficult to know where to start. But the simplest and cheapest solution is GoPro Studio, which offers a simple way to produce seamless time-lapse sequences from your photos and video. Final Cut Pro X, Adobe Premiere and QuickTime Pro do a similar job…they just cost a lot more.

- Download GoPro Studio from here and install
- Open the program and select ‘Step 1 – View & Trim’, then ‘Import New Files’
- Select the folder that contains your images and GoPro Studio will do the rest
- Play around with the settings under the ‘Advanced Settings’ button until you have the desired output
- ‘Add Clip to Conversion List’ and ‘Convert’
- You can either add a number of clips together to create a full movie or export the individual clip in whatever format you desire up to 4K
- If you’re thinking of uploading your finished masterpiece to YouTube it’s worth using 720p, 1080p or even 4K to maintain the incredible resolution you’ve captured if your bandwidth allows
POLISH YOUR FINAL PIECE
- Want to add some motion within the frame to your time-lapse movie? Having the camera pan from one side to the other, or zoom into a certain point, isn’t as hard to achieve, as you’d think. You can add these effects in most post-production programs
- You can even rotate your camera through 360° whilst it happily captures your time-lapse sequence over 60 minutes using a converted egg timer. They’re cheap to make and give amazing results. Check out how to build one here
- Adding a tilt shift effect to your sequence by blurring the top and bottom of the image, along with increasing the saturation, can give the illusion that the subject has been miniaturised… like a little toy town
- Want to smooth out the flaring caused by exposure transitions? There’s an option in GoPro Studio under Advanced Settings that can be used on your time-lapse videos called ‘Frame Blend’ on PC’s or ‘Motion Blur’ on Macs
- Getting everything set up correctly takes a bit of trail and error but it’s well worth the effort
- Night Lapse. The GoPro Hero 4 Silver and Black versions have Night Photo and Night Lapse modes, which allow you to use your camera for sunrise, sunset and night time shots with more clarity and definition than ever before. Here’s GoPro’s very own explanation of what they’re all about:
Some final tips
- Keep your camera at the highest resolution possible, be it 12MP for photo or 1080/4K for video
- Use the Continuous Interval setting when capturing night-lapse photos for seamless video-quality sequences
- Be brave and use ProTune instead of Auto. Once you get the hang of shooting in low-light, Protunes mode on the Hero4 Silver or Black is a semi-manual feature that lets you tinker with settings like ISO and colour temperatures
Have you captured any epic time-lapse sequences whilst travelling? Share them here and let me know if you have any tips I can add!

Hi.
I own a Hero3+ and we are visiting Sakatia Island near Madagascar. An annular solar eclipse is going on 01/09/2016 at about midday. The whole event lasts about 3 and a half hours. I plan to take a Time-Lapse video using a tripod showing part of the lodge, trees moving in the wind, perhaps a boat or two or a couple of people moving about while the sky becomes darker and light again. I do not plan to point the GoPro directly at the Sun as it would be directly overhead. Any suggestions about the interval please. Regards. Carel Aucamp
Hello 🙂 really good to hear from you and wow, I am jealous! I went to 2 eclipses in Africa, in 2000 and 2001. They’re incredible experiences so enjoy it!The changeover from day to night, back to day will happen relatively quickly so I would try and take a photo every 5 seconds. That way you’ll also capture the boats moving tide rising and it won’t be too many images to process at the end. GoPro Studio will be an easy way to turn the images into a movie. If you need anything further then please just ask. Best of luck and please share your timelapse here afterwards. Ben
Great article. I’m looking to record a cycling event that will take all day. I’m looking for advice on settings and a battery setup that will allow me to keep going for 8+ hours. I bought a GoPro 3+ just for this event and I want to get the most out of it!
Did you ever figure that out? I want to know too, I’d have access to power but need to know what size of card to get for 1080p and about 8-9 hours of run time.
Sorry to have missed your comment Tom. Hopefully it went well. My advice would have been to take a photo every 2 seconds and have at least a 128Gb card in the GoPro and to make sure it’s externally powered by a decent size battery pack – i.e. 5,000mAH
Fantastic article, thanks for the advice. Up in the Scottish highlands at the moment so hope to make a TLM driving around the lakes tomorrow. Awesome scenery!
How did it go? Would love to see finished result!
The weather was horrendous unfortunately so didn’t bother! 😂 Will have to wait till some time next year.
Hey! I am planning on doing a timelapse video of a company moving to a new office and warehouse. I am thinking the whole change should take about 1 week and I want to shot from about 6am to 6pm or so every day to later put it all together and see what we get. How often do you think I should take the pictures or if so should I use a GoPro 4 to use the timelapse mode. Thank you very much for your help.
Hey Tomas, good to hear from you. If you can power the GoPro using the USB charger throughout, and use a large enough capacity SD card plus leave it in the same fixed location throughout then you’ll have a great outcome. If it was me I’d set it to take a photo every 5 mins, then you’ll capture loads of action but not too much to make it difficult to process afterwards. The 2000 images will give you around 80 seconds of movie at 25 fps, which sped up considerably to a 10 second movie will look awesome. Using GoPro’s Studio program will allow you to import all the images, remove all the 6pm – 6am ones where nothing happens, and then speed it all up. If you use the timelapse mode for video it’ll create too large a file that’ll fill the card very quickly. Good luck and share your results with me! Ben
Thanks Ben, by doing it this way, would the video be in 1080p? What size of SD card would you need to let it run for 8-10 hours?
Hi there,
Yes the video will be in 1080p ‘if’ that’s how you decide to export it from GoPro’s Studio program. You have the option there to choose your output size and quality.
If you shoot the timelapse using photos instead of video you have the choice up to 4K as the images are of such high resolution.
Good luck!
PS – I really need the final video in 1080p, do I have to record in 4k or just regular 1080p? Thanks
Hi Ben, many thanks for your time and kinsness.
You said ‘If it was me I’d set it to take a photo every 5 mins’ and as specified by the manufacturer, the maximun interval among shots is 60 seconds. How do you do that?
This is because I have to run a time lapse of 18 months, and I plan to make a shot every 20/30 minutes.
If you decide to try and do a long term timelapse the GoPro really doesn’t have the ability to do it alone. You could try investing in something like this – https://cam-do.com/products/blink-gopro-time-lapse-controller – which not only allows longer intervals but also turns the camera on and off automatically meaning battery life is extended considerably. Does that help at all? Ben
Wow Ben
What a fantastic article- you are so generous with your time and knowledge!
I don’t own a GoPro yet, but we’ve signed up to do the Mongol Rally next year and I’d love to capture the entire trip (2 months from London to Russia) on a time lapse. It will be a great way for our friends and family to come along on the journey with us.
We will be riding small motorcycles, so a nice still setup for the camera isn’t an option (hello handlebars!).
Is there a specific setting/interval/any other suggestions you have for moving timelapse?
Thanks so much!
Kerry
Hey Kerry! Sounds like you’ve got your next adventure well in the pipeline then – well done. Thanks for the feedback on the article, I hope you can get some amazing footage filmed on the Mongol Rally. In order to capture each and every day you’re going to need a decent battery life and memory card too, and you’ll need to download all of the footage each night, format your cards and charge the batteries. Remember every time you move the camera to do this, you will change the field of view too which won’t look great once spliced together. I think your best bet would be to look at taking a photo every minute or so because by the end of 60 days you’ll have around 36,000 images to work with! Send me an email if you need any more help. Ben
Ben,
Application question: I want to take an indoor picture every 10 minutes, 24 hours per day, 7 days per week for a month, which would be 4464 pictures for documentation purposes. I also need an accessible date/time stamp for each picture after I download them. Prefer to power the unit to avoid battery issues. Will this work and if so, what should I buy?
great post
Hi Ben,
Can you please help with battery length using a GoPro Hero 5?
Can you have an external battery to increase the time lapse time frame of the shot?
Thanks
Dave
Hey Dave, sorry for the late reply – Xmas gets in the way of work! At this stage there isn’t an extended life battery available for the Hero5 as far as I know. If it was me I would remove the backdoor and use the USB charging point with a battery pack to keep the camera charged. Hope that helps, Ben
Ben, do you know how long you can record 4K time lapse for on a 64GB card?
Having shot a few of them I know that using the 4K Timelapse setting doesn’t use that much memory as it automatically creates an MP4 file which is much smaller but still high resolution than shooting pure 4K video. You could probably get around 6-8 hours at 5 sec intervals. It’s more likely your battery will run out first. Ben
Hi!
Thank you for your great video on gopro and timelapses with a lot of detailed informations. I just tried to shoot a 24h timelapse with a gopro hero 4 black from the skyline of Frankfurt, Germany. I shot with an interval of 15 seconds between the shots. I’m quite happy with th outcome but during the night the sky got really cloudy and I hope that I can give it another try when the weather is better. I would be happy about some feedback on my video:
https://youtu.be/rikbg1g27D4
KR Daniel
Hey Daniel, the timelapse looks great but there are a couple of things I’d suggest if you do it again. Ensure that the camera is level before you start filming so you have a nice smooth horizon line. If you can get the camera to look down the street in front of you so you get to see the cars and people moving along it, maybe even filming from a little closer, it’d add some good foreground action to the timelapse too? Ben
thanks for the nice sharing
Hi Ben I just bought a GoPro Hero5 for my next trip and thought you might be able to help
I’m going to OZ but on the trip will be in Kuala Lumpa for 2 days (going to see some Elephants!) and then onto OZ first Perth to visit some friends and then onto Cairns (Greet Barrier Reef snorkelling so under water footage is why I bought the hero 5) and then back via Hong Kong (I’m looking at a time lapse not in 4K mind poss 1080P or even 720P over night of Kowloon Harbour as our room looks right out onto it so thought this would be awesome! I have a 64GB card and was wondering what you think is best or if I need another card just for this (I have a power bank and 3 batteries so will just leave it in the window and let it run just don’t want too run out of space! Appreciate your help chap what do you think the settings should be (I don’t think anyone Id show would need 4K but Id like to squeeze 1080P if I could either video or still based I could just use the stock 16GB card but don’t mind buying another just incase!
Thanks
P
Hey Paul, sounds like you’ve got quite the trip planned – how very exciting. You’ve certainly got the right piece of gear to film your travel adventures – the Hero5 is all you need! Your best bet for filming a time-lapse of the harbour will be to use the night-lapse photo setting, taking an image roughly every 10 seconds for 10 hours (7pm until 5am for the complete nighttime range) which gives you around 3600 images that will fit on a 64Gb card. Yes, they’ll be a lot of post-production to do but GoPro Studio will take care of that for you. I’d definitely power it using an external battery pack and if you can have that plugged into an AC power source so it doesn’t run out of charge, even better.
If I was filming the harbour I’d probably think about capturing sunset from at least 90 mins before until a few hours after when the harbour is likely to be at it’s busiest. Think about changing light levels. The harbour area probably stays fairly light so you could get away with the 4K timelapse for a really amazing finished piece. The finished file size won’t be too big as it automatically produces a fairly small MPEG file.
Hope that helps and good luck, share your timelapse here when you’re done!
Ben
Hi excellent thanks for replying, I was thinking the same as you, getting the sun set and sunrise over the harbour but starting just as the sun is going down so the light changes are not so dramatic, ive bought another 32gb card for normal filming so the 64GB can run purely for this, I’m thinking of trying the 4k video in KL to as a dry run and ill share them on here once they are finished no probs and thanks for the help, keep up the good work chap
P
Hi Ben,
Great article. I do have a specific situation. One of my clients want to do a time-lapse of the construction of their helicopter. The assembly could take place over weeks. At this point I do not have a gopro and will be purchasing the equipment for the shoot. I assume I may need a very large card and will be able to connect to AC power. Is their an adapter to do this?I will be clamping the go pro to a pipe above the factory floor. There will be times at night and on weekends where it will be dark or nothing going on. Is there a way to tell the camera to stop shooting and when to start again? I guess I can change the card while nothing is going on. I think you said the longest pause is 60 seconds. Is that true?
I want the video to look as smooth as possible. Since the camera will be up above can the app control things from the ground will I be able to see what the camera is seeing?
Which way would be best and the smoothest movie stills or video?
Thanks
Hello
I want to shoot a 4K timelape video of a construction site (24 hours a day) which will take around 8 months. I have Hero 4 Black and wish to record 4K at 1 frame per min(60 secs) with a playback frame rate of 30fps. I will speed it up in the post. If i use 64GB card, how long can i record in the above mentioned setting? Kindly reply ASAP.
Thanks 🙂
Good question and one I don’t have a perfect answer for I’m afraid having never run one for that long! In my experience when I shot a 4K timelapse, with a photo every 5 seconds, over a couple of hours, it produced a finished MPEG video of around 700Mb, a considerably smaller file than 4K video. If it was me over that time duration and only taking an image every 60 seconds I’d probably use the photo timelapse setting instead. Less battery drain, higher image quality, better ability to deal with day/night transition, better low light quality and yes, a little work in post but a much easier file size to calculate too – 345,000 images at 12Mb = 4.14TB of data.
Maybe you can work it out from here – https://havecamerawilltravel.com/photographer/memory-card-size-gopro-hero4 – Hope that helps! Ben
Hello–
I’m building a house and want to time lapse the construction. Looking to take 1 picture every morning for 3-4 months.
If I buy a Go Pro Hero 2, will it be able to complete the whole project without a battery change?
Hello. Afraid not. The GoPro battery isn’t great and if you leave the camera turned on it’ll probably only last for around 4 hours. You could always power it using the USB connection on the side of the camera, just make sure you waterproof it well. The maximum interval between photos on the timelapse setting is 60 seconds so you may be best to securely attach the camera to a pole/tree/wall etc so that it cannot move, and then simply turn it on and take a photo each day if you’re on site. To get the full effect of building work in progress I would be using something that controls the GoPro externally, taking a photo when required and turning the camera off in between – https://cam-do.com/products/time-lapse-intervalometer
hi, I’m going a 5/6 day hike soon in zion national park and i wanted to do a time lapse from start to finish. I thought doing photo one would be best but I’m not sure, I’ve got a backpack strap so will be on the move for most of it. who would you recommend? can i do a 60 second photo and try and splice in a few 4k videos too? would that work? I have a brunton all day and a battery pack with me son can get hours of charge.
Hey James
Thanks for your message. Sounds like you have a a great hike planned – very jealous! You’ve got exactly the gear I would recommend if you’re heading off for just a day on the trails. The Brunton battery pack is what I’ve used in the past and they’re great. As Brunton don’t seem to make the batteries any more I can’t look into how long they last for, but I think you’d be pushing it for the 5 – 6 days you’re out on the trail unless of course you have a way of charging it each night? You may be best to take a few conventional GoPro batteries too just in case it runs out of life just before the end. I always prefer using the 4K Timelapse video mode now as the quality and end file size are so much better, you don’t have to do any post-editing either apart from a little colour-grading. For you however I don’t think that’s an option as you simply don’t have the battery power! Good luck and let me know how it goes. Ben
Experimenting with capturing starlight with HERO 4, Firmware ver. 5.0
Multi-shot, Night Lapse, Shutter 30 sec, Continuous, 12 MP Wide, Spot Meter OFF, Protune ON, White Balance 3,000, Color GOPRO, ISO 100,800, Sharpness MED, Exposure Value Compensation N/A
External Battery Pak
HERO takes 26 shoots (52 minutes) and ends session. Obviously the goal is to shoot continuous throughout the night.
What am I missing ?
Hmmm that’s an interesting situation Hank?! You’re saying the camera shuts off after just 6 images have been taken? I have used a GoPro with exactly the same setup as you talked about at Everest Base Camp on 12 hour overnight timelapse shoots and never really had a problem. The camera was powered by an external USB battery pack, had a 32Mb card in, etc etc. Why the camera is turning off may be down to SD card issues. Have you tried completely formatting the card rather than just deleting the images? If that fails can you replace the SD card with another one? It usually sorts out the problems as the little things are very fickle! Good luck and let me know what happens. Ben
Hi! Great info!! I own a Gopro Hero5 and I have a simple question:
if I want to make a sunset timelapse of a city then go on with a nightlapse of the same shot, How do I do to film both timelapses? should I change settings ( from timelapse photo to nightlapse photo) in the right moment ( the moment when sky becomes dark enought ) in order to capture both day and night lapse? Or is it posible to capture day and night lapse with just one configurarion? thanks hope you guys help me here cheers
Hey Frederico, no need to change settings, you’re bound to move the camera trying to do so and they’ll be a big jump in the exposure levels between the two. Simply leave the exposure settings on automatic so the camera does all of the hard work for you. It won’t work so well if there’s total darkness, but if you have enough city light coming into the sensor it’ll still get everything once the sun sets. Good luck! Ben